implementation("androidx.navigation:navigation-fragment:2.7.6")
implementation("androidx.navigation:navigation-ui:2.7.6")
탭바를 만들기 위해 위 코드를 build.gradle.kts에 작성한다.
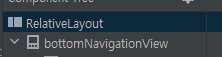
activity_main.xml의 Code로 가서 레이아웃을 RelativeLayout로 바꾼 후
bottomNavigationView를 넣는다.
<com.google.android.material.bottomnavigation.BottomNavigationView
    android:id="@+id/bottomNavigationView"
    android:layout_width="match_parent"
    android:layout_height="wrap_content"
    android:layout_alignParentBottom="true"
    android:background="#FFFFFF" />
그 후 Code로 가서 bottomNavigationView를 위와 같이 설정한다.
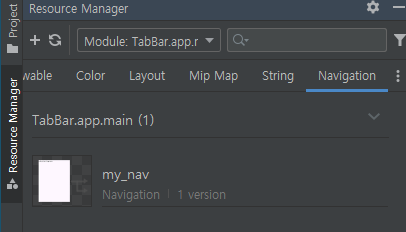
왼쪽 Resource Manager 클릭 - Navigation 탭 이동 후 + 버튼 클릭해서 Resource File 생성한다. (my_nav)
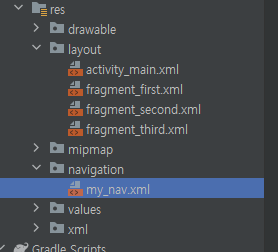
생성 완료화면 위와 같이 res 폴더에 navigation 폴더와 파일이 생긴다. 들어간 후에
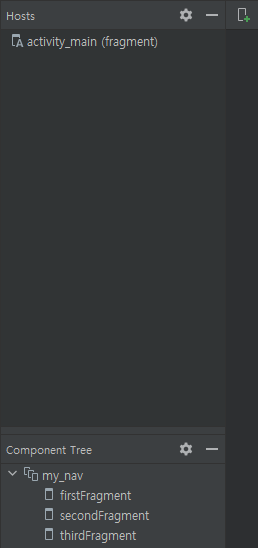
+ 버튼 눌러서 Fragment (Blank)로 이름 설정해서 생성한다.
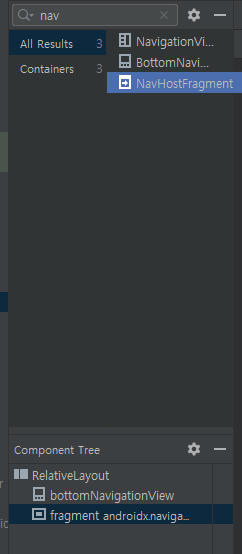
activity_main.xml로 가서 NavHostFragment를 드래그 해서 릴레이티브레이아웃에 넣고
아까 만든 my_nav 선택한다.
<androidx.fragment.app.FragmentContainerView
    android:id="@+id/fragment"
    android:name="androidx.navigation.fragment.NavHostFragment"
    android:layout_width="match_parent"
    android:layout_height="match_parent"
    android:layout_above="@id/bottomNavigationView"
    app:defaultNavHost="true"
    app:navGraph="@navigation/my_nav" />
NavHostFragment를 위와 같이 설정한다.
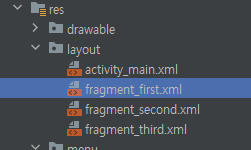
위 my_nav에서 만든 프레그먼트들을 꾸민 후에
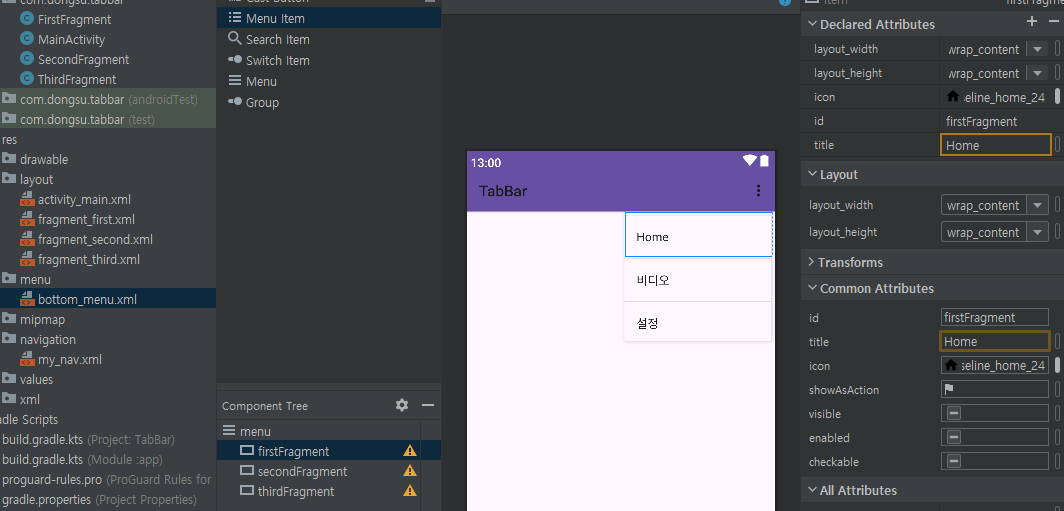
액션바(menu폴더 - 파일)을 만든다. 프레그먼트 개수만큼 Menu Item을 만들고 구성한다.
Menu item들의 id는 my_nav 파일의 각 프레그먼트들의 id와 동일하게 하고 icon과 title을 세팅한다.
<com.google.android.material.bottomnavigation.BottomNavigationView
    android:id="@+id/bottomNavigationView"
    android:layout_width="match_parent"
    android:layout_height="wrap_content"
    android:layout_alignParentBottom="true"
    android:background="#FFFFFF"
    app:labelVisibilityMode="labeled"
    app:menu="@menu/bottom_menu" />
activity_main의 Code로 가서 bottomnavigation 코드 안에 app:menu를 치고 방금 만든 TabBar 파일을 연결한다.
main의 bottomnavigation에 액션바로 만든 bottom_menu 파일을 연결할 수 있다.
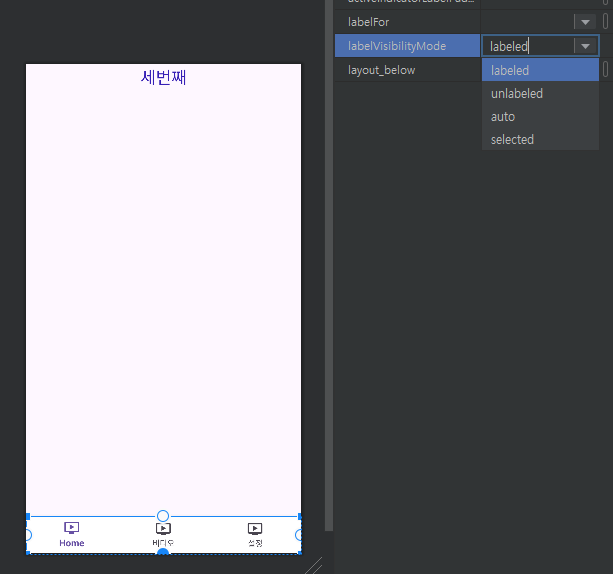
label을 검색하면 아이콘만 나오게 등 설정할 수 있다.
클릭 시 프레그먼트들이 변하게 코드를 작성한다.
public class MainActivity extends AppCompatActivity {

    // 아래 아이콘 나오는 영역
    BottomNavigationView bottomNavigationView;

    // 각 프레그먼트를 멤버변수로 만든다.
    Fragment firstFragment;
    Fragment secondFragment;
    Fragment thirdFragment;

    @Override
    protected void onCreate(Bundle savedInstanceState) {
        super.onCreate(savedInstanceState);
        setContentView(R.layout.activity_main);

        bottomNavigationView = findViewById(R.id.bottomNavigationView);

        firstFragment = new FirstFragment();
        secondFragment = new SecondFragment();
        thirdFragment = new ThirdFragment();

        bottomNavigationView.setOnItemSelectedListener(new NavigationBarView.OnItemSelectedListener() {
            @Override
            public boolean onNavigationItemSelected(@NonNull MenuItem item) {

                int itemId = item.getItemId();
                Fragment fragment = null;

                if (itemId == R.id.firstFragment){
                    fragment = firstFragment;
                } else if (itemId == R.id.secondFragment) {
                    fragment = secondFragment;
                } else if (itemId == R.id.thirdFragment) {
                    fragment = thirdFragment;
                }

                return loadFragment(fragment);
            }
        });
    }

    boolean loadFragment(Fragment fragment){
        if (fragment != null){
            getSupportFragmentManager().beginTransaction().replace(R.id.fragment, fragment).commit();
            return true;
        } else {
            return false;
        }
    }

}
'Android Studio' 카테고리의 다른 글
| [Android Studio] 안드로이드 에뮬레이터 GPS 설정하는 법 (0) | 2024.01.10 |
|---|---|
| [Android Studio] TabBar Fragment 사용하기 (1) | 2024.01.10 |
| [Android Studio] 글로벌 표준시(UTC)를 로컬의 시간으로 변경하기 (1) | 2024.01.08 |
| [Android Studio] Retrofit2 API 호출 중 form-data 처리 하는 방법 (0) | 2024.01.08 |
| [Android Studio] 카메라, 앨범 사용하기 (1) | 2024.01.05 |

